
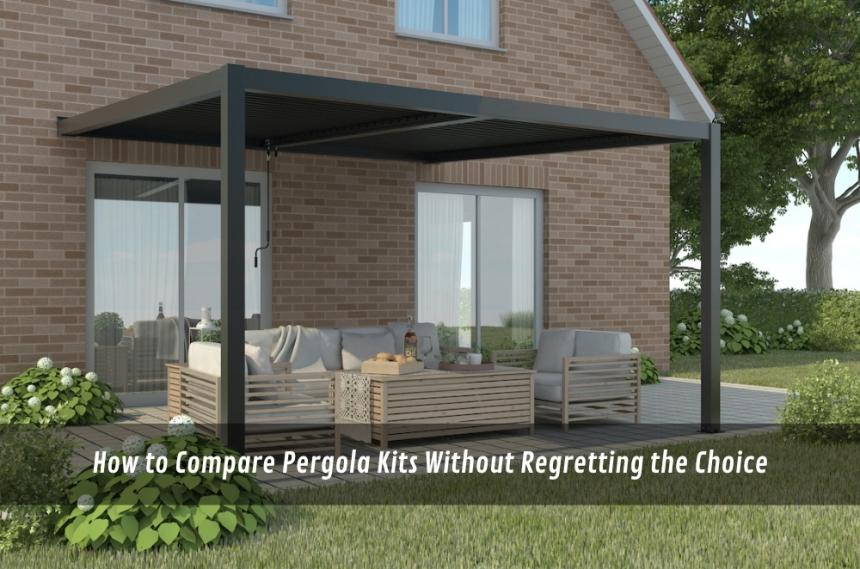
How to Compare Pergola Kits Without Regretting the Choice
Compare pergola kit options with a practical, no-regrets framework that starts with the site, then structure, roof function, inclusions, and install reality. This guide highlights common mistakes, key decision factors for Australian conditions, and a simple 7–14 day action plan to help homeowners and small businesses choose a kit that suits their space, budget, and maintenance tolerance.
Choosing a pergola kit sounds simple until the details start stacking up: roof type, materials, engineering, site prep, drainage, and whether the “kit” actually includes what most people assume it does. A good comparison isn’t about finding the cheapest box of parts—it’s about matching the kit to the way the space will be used, the conditions it needs to handle, and the effort (and risk) you’re realistically willing to take on.
The easiest way to avoid regret is to compare pergola kit options in the same order that problems usually appear: first the site, then the structure, then the roof, then the finish and extras, and only then the install and aftercare.
What “pergola kit” really means (and what it doesn’t)
A pergola kit is typically a packaged set of components designed to create a specific structure with repeatable parts and a defined installation method. That might be as basic as posts, beams, fixings, and a simple roof frame, or it could be a more complete system with engineered drawings, specific footings guidance, roof drainage pieces, and optional add-ons.
What a kit often doesn’t guarantee is that it’s “plug-and-play” for every property. Two backyards in the same suburb can behave very differently once you factor in soil type, slope, existing paving, exposure to wind, and where water runs when it rains.
A useful comparison starts by defining what “done” looks like: shade when you need it, water management that doesn’t create new problems, and a structure that looks intentional—not like a compromise made to fit the kit.
Decision factors that actually change the outcome
1) Freestanding vs attached: it’s a site decision first
Freestanding structures are often easier to position for shade and airflow, and they can suit yards where attachment points are limited or undesirable. Attached options can feel more integrated with the home and may create a smoother transition from inside to outside, but they put more weight on how the connection is designed and where it lands.
Don’t start by asking which is “better”. Start by asking where posts can realistically go, what’s under the surface (pavers, concrete, garden beds), and whether you want to avoid cutting into existing surfaces.
2) Materials: compare maintenance, not just appearance
Most kit comparisons get stuck on a simple choice: aluminium vs timber. That’s a start, but it’s not the whole story.
Timber can look warm and natural, but it usually demands ongoing maintenance and careful detailing around moisture and fasteners.
Aluminium is often chosen for lower ongoing upkeep and crisp profiles, but you still need to check coating quality, hardware, and how the system handles movement and thermal expansion.
The practical question is: how much maintenance will actually happen six months after the build? If the honest answer is “not much”, compare options through that lens and favour finishes that won’t punish you for being busy.
3) Roof style: it changes comfort more than people expect
A pergola’s roof choice is where “kit options” become genuinely different products, not just different colours.
Open or slatted styles can provide partial shade and airflow, but don’t expect rain protection.
Fixed roof systems create reliable shelter, but introduce drainage and runoff decisions.
Adjustable louvre styles can give flexibility, yet they also add mechanical complexity and a different maintenance profile.
This is where comparing “inclusions” matters: gutters, downpipes, flashing, water direction, and what happens at the edges during heavy weather.
4) Engineering and wind considerations: the invisible differentiator
In Australia, wind exposure is not a theoretical issue. Coastal areas, elevated blocks, and open suburbs can all experience conditions that quickly reveal weak design assumptions.
When comparing kits, look for clarity on what the system is designed to handle and what documentation is provided for your build. If you’re unsure how to evaluate this, treat it as a decision factor, not an afterthought.
If it helps to sanity-check inclusions side-by-side, the Unique Pergolas kit comparison guide is a practical reference before requesting quotes.
5) Inclusions: the “kit” may not include what you think
Two kits can look similar in photos and still differ wildly in what’s included. Typical gaps that create budget blowouts or delays include:
footings components or footing guidance that doesn’t suit your ground conditions
fixings and brackets that aren’t matched to your surfaces
drainage parts that are listed as “optional” but are functionally required
finishing items (caps, trims, flashings) that impact weathering and appearance
A clean comparison uses a single checklist and forces every option to answer the same questions.
6) Installation reality: DIY-friendly doesn’t mean DIY-easy
Some kits are designed for capable DIY installers with time, tools, and patience. Others are more realistically an “installer kit” where the system is standardised, but the execution still needs experienced hands—especially for alignment, footings, and water management.
The key is to be honest about your constraints: weekends available, tolerance for rework, ability to lift and position long components safely, and willingness to coordinate trades if you hit a wall.
Common mistakes people make when comparing options
The most common mistake is comparing photos instead of outcomes. A pergola that looks great on day one can become a maintenance chore or a water-management headache if the kit wasn’t matched to the site.
Another frequent trap is treating approvals and compliance as a late-stage admin task. In practice, requirements can shape design choices, attachment decisions, and setbacks—and redesigning late can cost more than choosing correctly early.
People also underestimate how often “optional extras” become essentials. If a roof is fixed, drainage is not a luxury. If a space is windy, structural decisions aren’t cosmetic.
Finally, many comparisons ignore the parts that fail first: hardware quality, coating durability, and how joints and fixings are detailed. A kit is a system, and weak points tend to show up at the connections.
Operator Experience Moment
One pattern that shows up repeatedly is that the “best-looking” option on a screen often isn’t the best fit in a real backyard. When installers arrive on site, the conversation quickly shifts to what’s under the paving, where water needs to go, and how to avoid posts landing in the only usable walkway. The smooth projects are the ones where those constraints are acknowledged early, not discovered mid-build.
Local SMB mini-walkthrough (Australia)
A small café wants a simple covered outdoor area for year-round seating without constant upkeep.
They measure the space and realise foot traffic requires posts to sit outside the main path.
Because the block is exposed, they prioritise a system with clear structural documentation and robust fixings.
They choose a roof style that manages rain predictably and plan where water will drain before ordering.
They check local requirements early to avoid redesigning after materials are delivered.
They book installation for a quieter trading period and confirm access for long components and tools.
Practical Opinions
Choose roof function first, then match the structure to the site.
Treat drainage and fixings as core components, not upgrades.
If timelines are tight, standardise decisions early and avoid custom changes late.
A simple 7–14 day plan to choose confidently
Days 1–2: Define the use-case and constraints
Write down how the space will be used (shade, rain cover, entertaining, business seating), the hours it matters most, and your tolerance for maintenance.
Days 3–4: Assess the site
Measure the area, note slope, identify where posts can go, and observe where water runs during irrigation or rain. Photograph attachment points and surfaces.
Days 5–7: Build a comparison checklist
Create a one-page list covering: structure type, roof style, drainage plan, included components, hardware/coatings, documentation provided, install requirements, warranty/aftercare, and realistic total cost.
Days 8–10: Shortlist two or three options
Force each option to answer the same checklist. If an option can’t clearly answer key questions (especially around roof function, water management, and structure), downgrade it.
Days 11–14: Validate installation and approvals approach
Decide whether you’re DIY-ing, using a tradesperson, or going fully supplied-and-installed. Align the kit choice to that decision, and check local requirements early enough to adjust without panic.
Key Takeaways
Compare pergola kit options by site fit, structure, roof function, and inclusions—then price.
Roof choices drive comfort and complexity; drainage planning is non-negotiable for fixed cover.
Avoid photo-based decisions; focus on how the kit handles wind, connections, and water.
A short checklist and a two-week plan prevent most blowouts and mid-project redesigns.
Common questions we hear from Australian businesses
Q1) Do businesses usually need approval for a pergola-style structure?
Usually, yes—at least a check is needed, because requirements vary by council and by what the structure is attached to or how it’s used. Next step: call or email the local council (or a building professional) with a simple sketch and dimensions. In many Australian areas, outdoor trading or covered seating can add extra considerations beyond a residential backyard.
Q2) Is a DIY kit usually cheaper than having it installed?
It depends on what’s included, your tools and time, and whether you’ll need trades for footings, electrical, or drainage. Next step: price the “missing” items (site prep, waste removal, fixings, drainage parts) and add a buffer for rework. In most cases in Australia, labour availability and scheduling can make “cheap DIY” more expensive if it drags out over weeks.
Q3) How do you compare aluminium and timber in a practical way?
In most cases, the deciding factor is maintenance and finish durability, not just the look. Next step: ask what upkeep is expected annually and what happens if coatings or fasteners start to degrade. In coastal Australian locations, exposure can accelerate wear, so hardware quality and protective finishes matter as much as the base material.
Q4) What’s the one detail people miss with roofed options?
Usually, it’s water management—where rain goes, how it’s captured, and what it might affect nearby. Next step: map the runoff path and confirm gutters/downpipes (or equivalent) are included and suited to your layout. In most cases in Australia, intense downpours will expose weak drainage planning quickly, especially near doors, paths, and outdoor seating zones.

Casino en ligne : Les tendances actuelles
Casino en ligne : Les tendances actuelles